介绍 import pymysql
时间=conn pymysql.connect (
时间=user 才能;& # 39;根# 39;
时间=password 才能;& # 39;123 & # 39;
时间=host 才能;& # 39;127.0.0.1 # 39;,,#,ip地址
时间=port 才能;3306年,,,,,#,端口
时间=charset 才能;& # 39;use utf8 # 39;
时间=database 才能;& # 39;day36_1& # 39;
)
时间=cursor conn.cursor(光标=pymysql.cursors.DictCursor) #,产生游标对象
#,光标=pymysql.cursors.DictCursor 将查询出来的结果制成字典的形式返回
时间=sql “select *,得到userinto"
时间=res cursor.execute (sql), #执行sql语句
时间=res cursor.fetchone(), #,打印一条数据
时间=res cursor.fetchall(), #,可以打印里面的所有数据
时间=res cursor.fetchmany(2),, #制定获取几条数据,如果数字超了也不报的错
打印(res)
cursor.scroll(2, & # 39;相对# 39;),#相对移动,,,基于指针所在位置,,往后偏移
cursor.scroll(3, & # 39;绝对# 39;),#绝对移动,基于起始位置往后偏移
print (cursor.fetchall ()) import pymysql
时间=conn pymysql.connect (
时间=user 才能;& # 39;根# 39;,,
时间=password 才能;& # 39;123 & # 39;
时间=host 才能;& # 39;127.0.0.1 # 39;
时间=port 才能;3306年,
时间=database 才能;& # 39;day36_1& # 39;
时间=charset 才能;& # 39;use utf8 # 39;
)
时间=cursor conn.cursor(光标=pymysql.cursors.DictCursor)
#获取用户名和密码,然后取数据库中校验
时间=username 输入(& # 39;username>在祝辞:& # 39;).strip ()
时间=password 输入(& # 39;password>在祝辞:& # 39;).strip ()
时间=sql “select *,得到userinto where name=% s 以及密码=% s"
打印(sql)
cursor.execute (sql,(用户名,密码),#交由执行帮你去做拼接,解决注入问题
时间=res cursor.fetchall ()
if res:
打印(res)才能
其他:
打印才能(& # 39;username 或是password 错误! & # 39;) import pymysql
时间=conn pymysql.connect (
时间=user 才能;& # 39;根# 39;
时间=passwd 才能;& # 39;123456 & # 39;
时间=db 才能;& # 39;day36& # 39;
时间=host 才能;& # 39;127.0.0.1 # 39;
时间=port 才能;3306年,
时间=charset 才能;& # 39;use utf8 # 39;
时间=autocommit 才能;True #,自动提交确认
)
时间=cursor conn.cursor(光标=pymysql.cursors.DictCursor)
#,#查:获取用户输入的用户名和密码,然后取数据库中校验=#,username 输入(& # 39;username>在祝辞:& # 39;).strip ()=#,password 输入(& # 39;password>在祝辞:& # 39;).strip ()
#,#,sql =,“select *,得到userinfo where name=& # 39; % & # 39;,以及密码=,& # 39;% & # 39;“%(用户名、密码)=#,sql “select *,得到userinfo where name=% s 以及密码=,% s"
#,打印(sql)
#,增
时间=sql “insert into 用户信息(名称、密码dep_id),值(& # 39;杰森# 39;789年,1)“;
#,改=#,sql “update userinfo set name=& # 39; egondsb& # 39;, where id =, 6“;
#,删除=#,sql “delete 得到userinfo where id=, 1“;
时间=res cursor.execute (sql)
#,conn.commit(), #,确认当前操作,真正的同步到数据库
打印(res)
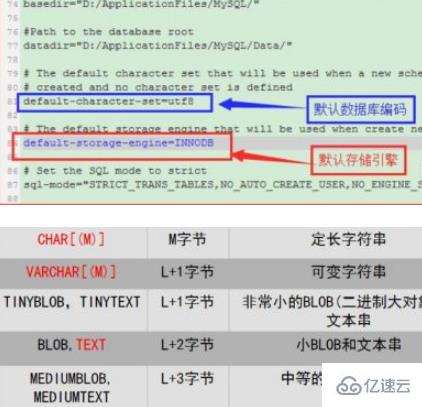
如何使用pymysql模块?很多新手对此不是很清楚,为了帮助大家解决这个难题,下面小编将为大家详细讲解,有这方面需求的人可以来学习下,希望你能有所收获。
pymysql的基本使用:
我们可以通过python导入模块来连接数据库,进行登陆注册功能,在使用时sql会遇到注入问题
sql注入问题利用特殊符号和注释语法巧妙的绕过真正的sql校验,是用户数据不安全
关键性的数据不要自己手动去拼接而是交由执行帮你去做拼接
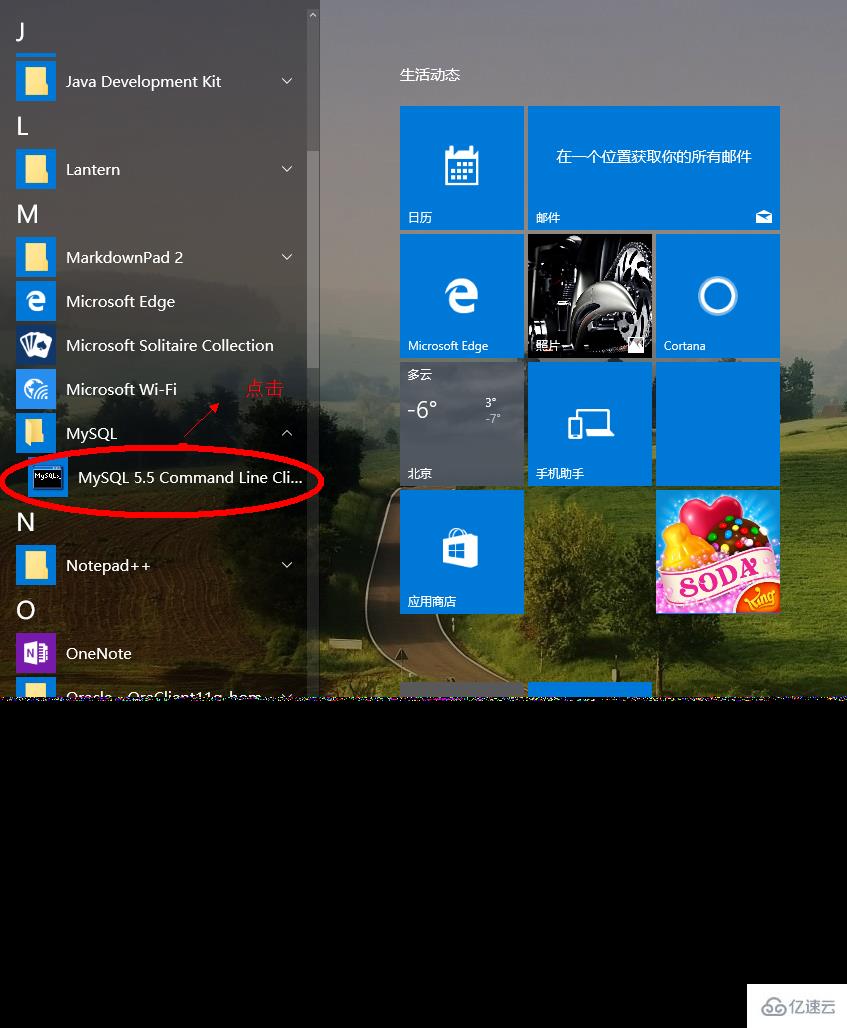
我们也可以利用pycharm来操作数据库文件的增删改查!
针对增删改操作执行重要程度偏高
你如果真想操作必须有一步确认操作(提交)
看完上述内容是否对您有帮助呢?如果还想对相关知识有进一步的了解或阅读更多相关文章,请关注行业资讯频道,感谢您对的支持。