
李 [root@SZNAGIOS01 mnt] #, tar zxvf nconf-1.3.0-0 . . tgz
[root@SZNAGIOS01 mnt] #, mv nconf /var/www/html/[root@SZNAGIOS01 mnt] #, cd /var/www/html/nconf/[root@SZNAGIOS01 nconf] #, chown -R apache: apache 配置/,temp/, static_cfg/,输出/ [root@localhost nconf] #, rm -rf INSTALL INSTALL.php UPDATE UPDATE.php
[root@localhost nconf] #, ln -s /usr/地方/nagios/bin/nagios bin/nagios
[root@localhost nconf] #, chmod + x bin/generate_config.pl
[root@localhost nconf] #, chown -R apache: apache temp
[root@localhost nconf] #, chown -R apache: apache 本
[root@localhost nconf] #, chmod + x bin/nagios
[root@localhost nconf] #, chmod + x 插件/deploy_local。sh [root@localhost nconf] #,插件/deploy_local。sh [root@localhost nconf] #, vim /usr/地方/nagios/etc/nagios.cfg
# cfg_file=/usr/地方/nagios/etc/对象/commands.cfg
# cfg_file=/usr/地方/nagios/etc/对象/contacts.cfg
# cfg_file=/usr/地方/nagios/etc/对象/timeperiods.cfg
# cfg_file=/usr/地方/nagios/etc/对象/templates.cfg
# cfg_file=/usr/地方/nagios/etc/对象/localhost.cfg
cfg_dir=/usr/地方/nagios/etc/Default_collector
cfg_dir=/usr/地方/nagios/etc/全球
- <>
安装nconf
安装前创建nconf数据库并建立用户及分配权限
,安装nconf
打开http://192.168.7.164/nconf
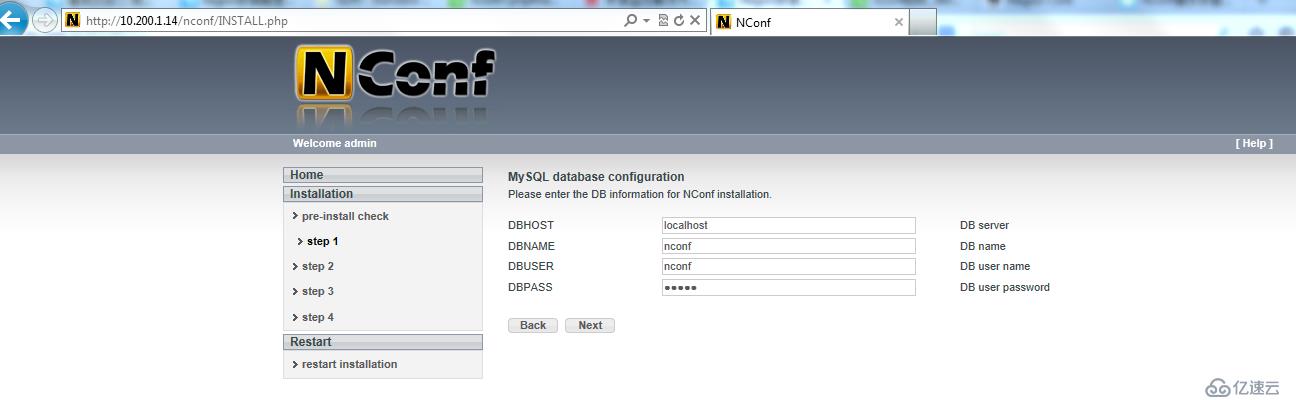
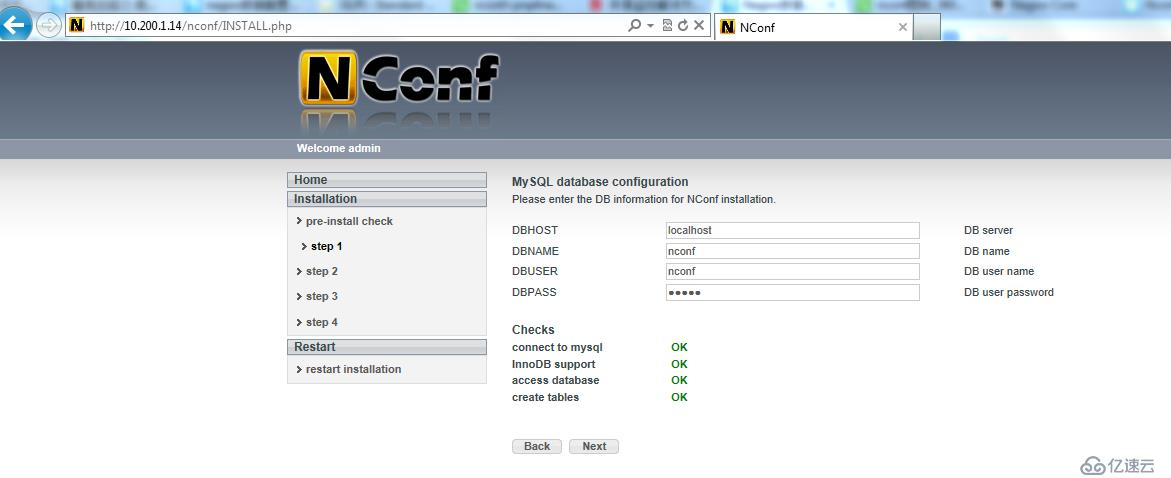
设置连接数据库的参数:
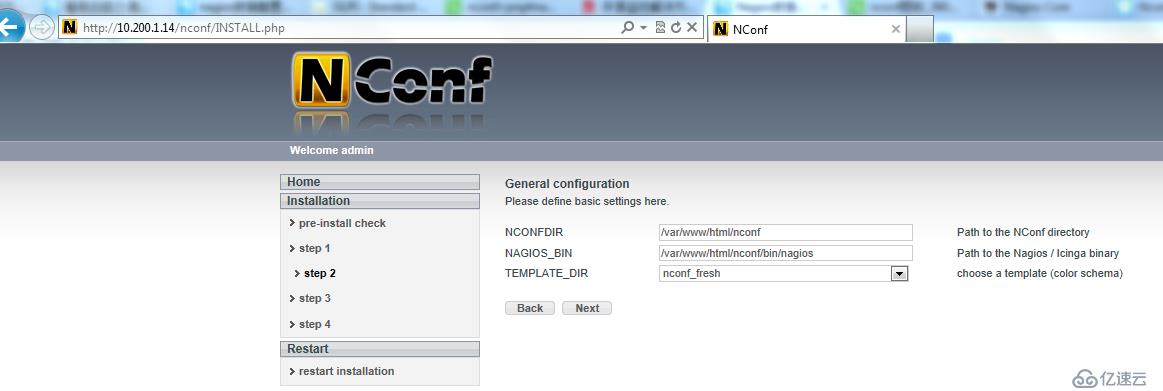
配置nconft和nagiso路径(默认):
设置nconf管理密码:
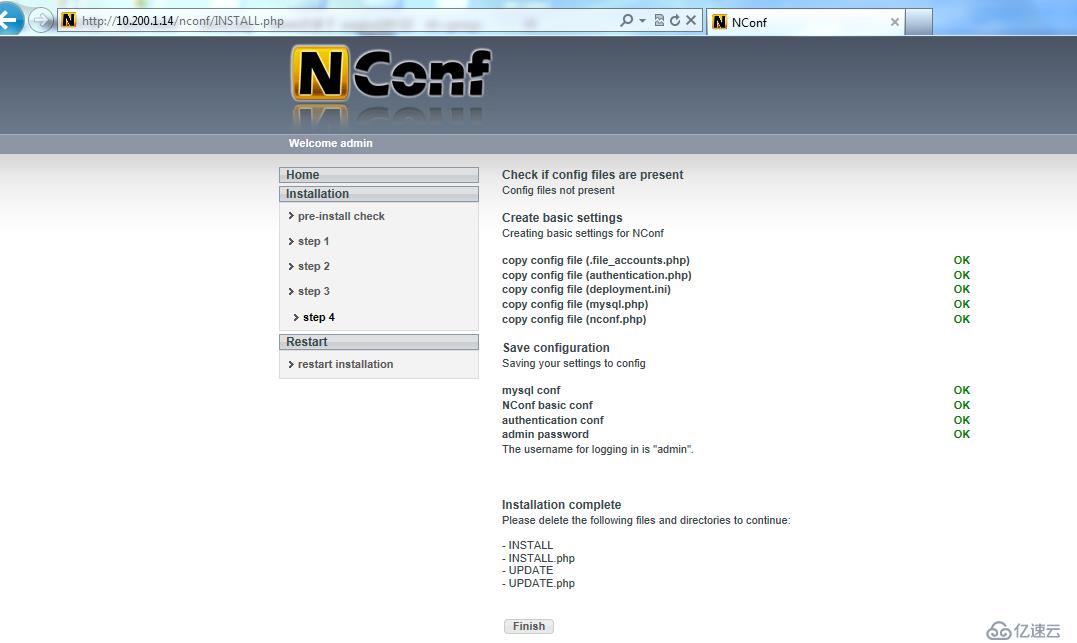
修改配置文件:
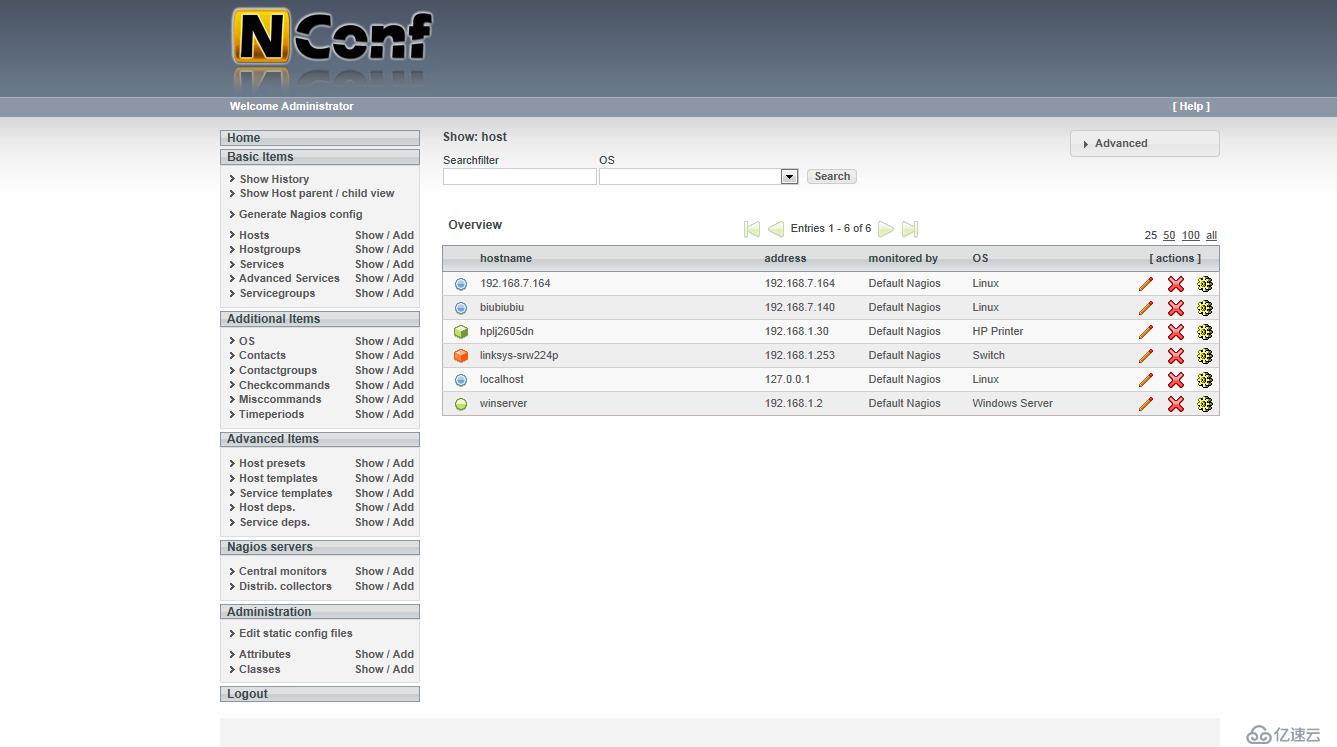
登陆测试:
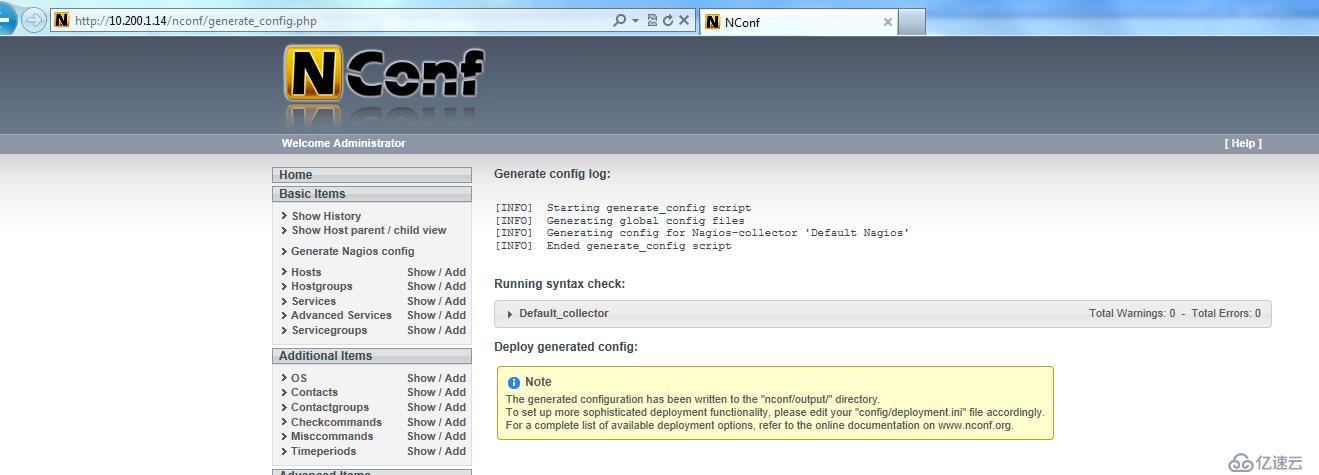
导入配置文件:
运行配置检查……。
重载nagios配置…做
之后会在/usr/地方/nagios/etc/目录中生成以下目录Default_collector与全球
修改nagios配置文件:
将原来的配置文件(cfg_file=* * *)注释加上最后两行
重启nagios:
服务重启nagios
,


