
介绍
小编这次要给大家分享的是Unity3D材质如何实现扫描显示效果,文章内容丰富,感兴趣的小伙伴可以来了解一下,希望大家阅读完这篇文章之后能够有所收获。
通过材质实现,从左向右的扫描显示,可自定义扫描颜色,宽度,速度。
效果图如下
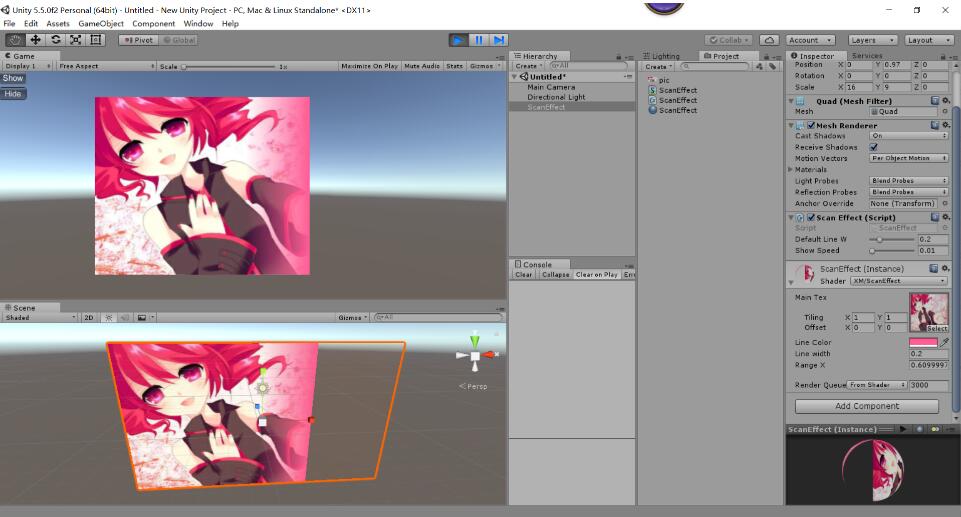
编辑器界面如下
材质源码如下
材质“XM/ScanEffect"
  {
  属性
  {
  _MainTex(“主要Tex", 2 d)=皐hite" {}
  _lineColor(“行Color"、颜色)=(0,0,0,0)
  _lineWidth(“行width"、范围(0,- 1.0)=0.1
  _rangeX (“X"范围、范围(0,- 1.0)=1.0
  }

  SubShader
  {
  标记{
  “Queue"=?Transparent"
  }

  ZWrite掉
  混合使用UnityEngine SrcAlpha>;
  使用System.Collections;
  公开课ScanEffect: MonoBehaviour
  {//默认扫描线的宽
  (范围(0,1))
  公共浮动_defaultLineW f=0.2;//扫描的速度
  (范围(0,1))
  公共浮动_showSpeed f=0.02;

  私人MeshRenderer _render;

  私人空间清醒()
  {
  _render=GetComponent ();
  对于SetX (0);
  SetLineWidth (0);
  }

  公共空间SetLineWidth (val浮动)
  {
  _render.material.SetFloat (“_lineWidth" val);
  }
  公共空间对于SetX (val浮动)
  {
  _render.material.SetFloat (“_rangeX" val);
  }

  公共空间展示()
  {
  StopCoroutine (“Showing");
  StartCoroutine (“Showing");
  }
  公共空间隐藏()
  {
  StopCoroutine (“Showing");

  对于SetX (0);
  SetLineWidth (0);
  }

  私人IEnumerator显示()
  {
  浮动△=0;
  浮动deltaWidth=_defaultLineW;

  对于SetX (△);
  SetLineWidth (deltaWidth);

  而(真)
  {
  如果(△!=1)
  {
  △=Mathf。Clamp01 (△+ _showSpeed);
  对于SetX (△);
  }
  其他的
  {
  如果(deltaWidth !=0)
  {
  deltaWidth=Mathf。Clamp01 (deltaWidth _showSpeed);
  SetLineWidth (deltaWidth);
  }
  其他的
  {
  打破;
  }
  }
  收益回报新WaitForEndOfFrame ();
  }
  }


  公共空间>看完这篇关于Unity3D材质如何实现扫描显示效果的文章,如果觉得文章内容写得不错的话,可以把它分享出去给更多人看到。Unity3D材质如何实现扫描显示效果


