介绍 Android是什么 /*绘制三条横线*/(int 我=0;i<3,我+ +){
canvas.drawLine才能(textWide, mLineYs[我],totalWidth,, mLineYs[我],mPaintLine);
}/*绘制八条竖线*/(int i=0; i<8;我+ +){
canvas.drawLine才能(mLineXs[我],0,,mLineXs[我],totalHeight,, mPaintLine);
} /*绘制第一条折线的路径*/for (int 小姐:=,0;,小姐:& lt;, mPerformance_1.length 作用;1;,我+ +),{/*才能折线图的折线的画笔设置粗一点*/mPaintLine.setStrokeWidth才能(5);/*才能计算当前节点的坐标值*/float 才能;prePointX =mLineXs[我];
float 才能;prePointY =mLineYs[2],安康;(mLineYs[2],安康;mLineYs [mPerformance_1[我].type]), *, animCurrentValue;/*才能计算下一个节点的坐标值*/float 才能;nextPointX=mLineXs[小姐:+,- 1];
float 才能;nextPointY=mLineYs[2],安康;(mLineYs[2],安康;mLineYs [mPerformance_1[小姐:+,- 1].type]), *, animCurrentValue;/*才能连接当前坐标和下一个坐标,绘制线段*/canvas.drawLine才能(prePointX, prePointY,, nextPointX,, nextPointY,, mPaintLine1);/*当才能前节点坐标处绘制小圆*/canvas.drawCircle才能(prePointX, prePointY,, mSmallDotRadius,, mPointPaint);
} mPaintLine2.setXfermode (new PorterDuffXfermode (PorterDuff.Mode.SCREEN));
mPaintLine1.setXfermode (new PorterDuffXfermode (PorterDuff.Mode.SCREEN)); final Random 随机=new 随机();
final LineChartView myView=(LineChartView) findViewById (R.id.custom_view);
final LineChartView.Performance [], performances1=new LineChartView.Performance [8];
final LineChartView.Performance [], performances2=new LineChartView.Performance [8];
myView.setOnClickListener (new View.OnClickListener () {
@Override才能
public 才能;void onClick (View v) {
,,,(int 我=0;i怎么在Android中通过自定义控件实现一个折线图
这篇文章给大家介绍怎么在Android中通过自定义控件实现一个折线图,内容非常详细,感兴趣的小伙伴们可以参考借鉴,希望对大家能有所帮助。
Android是一种基于Linux内核的自由及开放源代码的操作系统,主要使用于移动设备,如智能手机和平板电脑,由美国谷歌公司和开放手机联盟领导及开发。
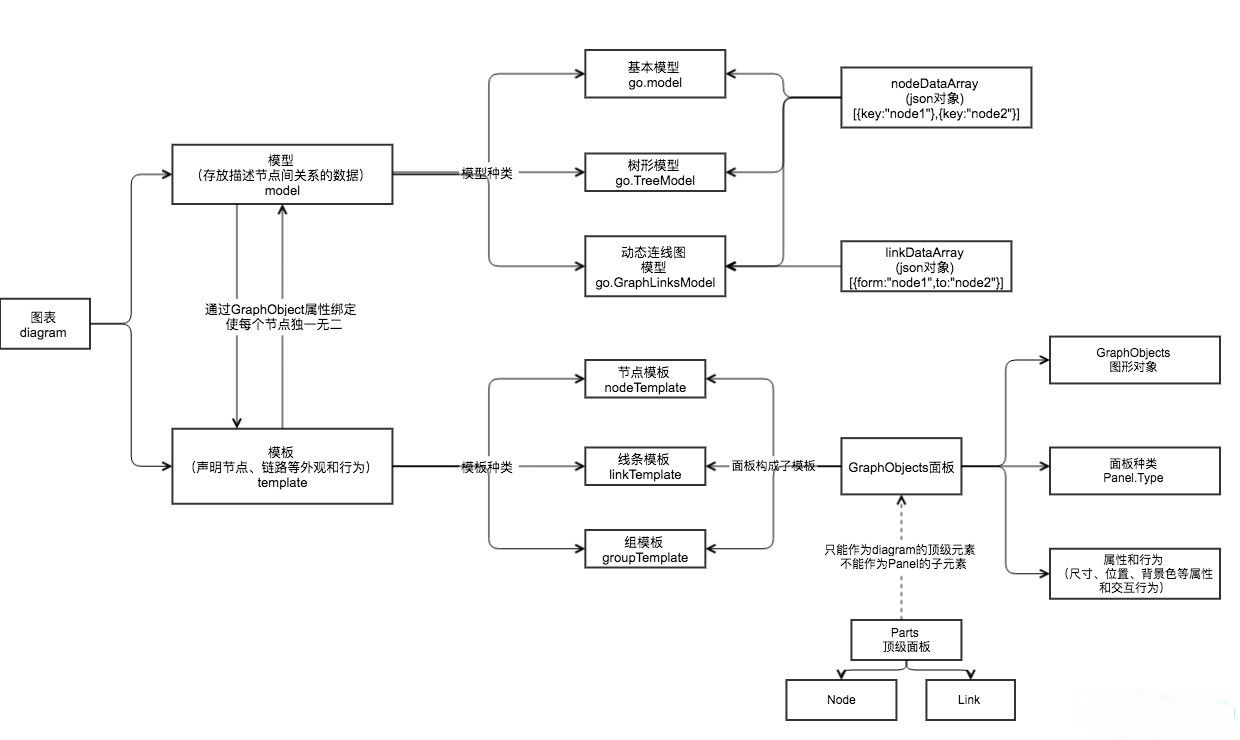
首先是控件绘图区域的划,分控件左边取一小部分(控件总宽度的八分之一)绘制表头,右边剩余的部分绘制表格
确定表格的行列数,首先绘制一个三行八列的网格,设置好行列的坐标后开始绘制
网格绘制完成后,开始绘制折线图
根据输入的节点数据,分别绘制两条折线
通过油画的画直线方法依次连接两点即可
在每个数据节点处绘制一个小圆,突出显示
两条折线重合的地方,需要特殊考虑,比如希望两条折线重合的地方折线变为白色
设置下两条折线的画笔即可
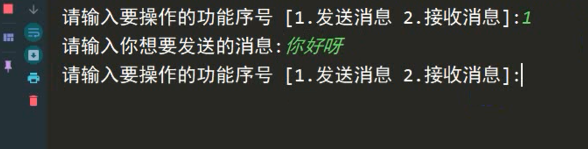
测试代码及效果;