怎么用Python将库打包发布到pypi

  介绍

小编给大家分享一下怎么用Python将库打包发布到pypi,相信大部分人都还不怎么了解,因此分享这篇文章给大家参考一下,希望大家阅读完这篇文章后大有收获、下面让我们一起去了解一下吧!

1。注册pypi账号并创建牌

首先访问https://pypi.org/并注册账号
然后跳转到账号设置

怎么用Python将库打包发布到pypi

然后选择API牌→添加API标记

怎么用Python将库打包发布到pypi

输入标记名并在范围中选择整个帐户(第一次需要选择整个账户)

怎么用Python将库打包发布到pypi

然后在本地,修改<代码>。pypirc 文件
输入的内容为:

[pypi]   username =__token__   password =,{牌}

只需要修改<代码>{牌}>

2。编写setup . py和setup.cfg

设置。cfg的内容为

(元数据)   时间=license_files  LICENSE.txt

LICENSE.txt是许可证文件,需要自行编写
设置。py在根目录下,一个示例为

得到setuptools  import 设置   import  compileall   得到os  import 路径   #,读取readme文件,这样可以直接显示在主页上   时间=this_directory  path.abspath (path.dirname (__file__))   with 开放(path.join (this_directory, & # 39; README.md& # 39;),,编码=& # 39;utf - 8 # 39;), as  f:   ,,,long_description =, f.read ()      compileall.compile_dir (“src")      设置(   ,,,的名字=& # 39;my-python& # 39;   ,,,=& # 39;版本1.0.2中# 39;,   ,,,包=[& # 39;src # 39;   ,,,,,,,,,,,,,& # 39;src.main& # 39;   ,,,,,,,,,,,,,& # 39;src.main.config& # 39;],   ,,,url=& # 39; https://github.com/hTangle& # 39;   ,,,许可证=& # 39;Apache  2.0 & # 39;   ,,,=& # 39;作者hTangle& # 39;   ,,,author_email=& # 39; & # 39;   ,,,描述=& # 39;& # 39;   ,,,关键字=& # 39;& # 39;   ,,,python_requires=& # 39;祝辞=3.4,& lt; 4 & # 39;   ,,,long_description=long_description,   ,,,long_description_content_type=& # 39;文本/减价# 39;   ,,,install_requires=[& # 39;请求# 39;】   )

具体的字段含义如下:

<代码>名称>

:<代码>版本版本号,支持如下形式

1.2.0.dev1 , #, Development 释放   1.2.0a1 ,,,, #, Alpha 释放   1.2.0b1 ,,,, #, Beta 释放   1.2.0rc1 ,,, #, Release 候选人   1.2.0 ,,,,,, #, Final 释放   1.2.0.post1  #, Post 释放   15.10,,,,,,,#,Date  based 释放   23日,,,,,,,,,,#,Serial 发布

:<代码>描述包描述,会放在如下图所示的位置处
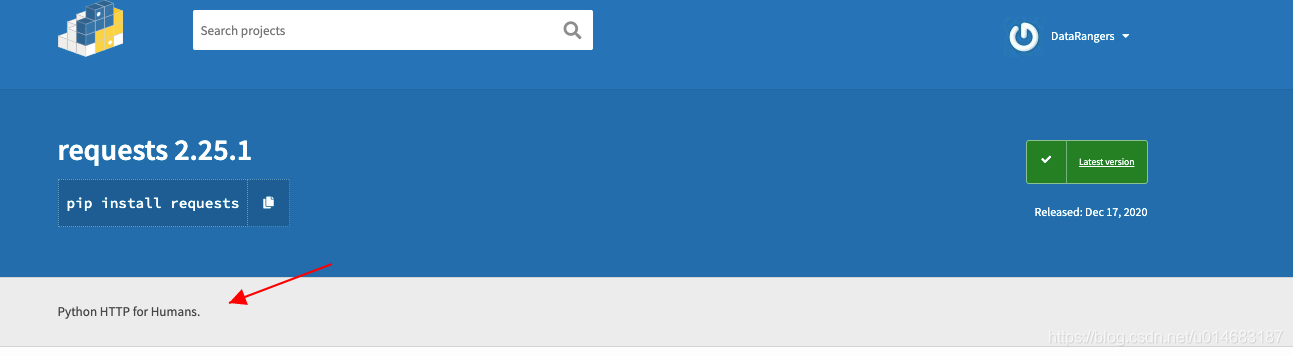
怎么用Python将库打包发布到pypi

<代码> url>


怎么用Python将库打包发布到pypi

:<代码>作者作者

<代码>许可证>

<代码>分类> 分类器=[   ,,,#,请,mature  is 却;能够项目? Common  values    号,,,,,,3,安康;α   号,,,,,,4,的背后,β   号,,,,,,5,安康;生产/稳定   ,,,& # 39;Development  Status ::, 3,安康,α# 39;      ,,,#,Indicate  who  your  project  is  intended    ,,,& # 39;Intended  Audience ::,开发商# 39;   ,,,& # 39;Topic ::, Software  Development ::, Build 工具# 39;      ,,,#,Pick  your  license  as 你wish  (should  match “license",上图)   ,,,& # 39;License ::, OSI  Approved ::, MIT 许可# 39;      ,,,#,Specify 从而Python  versions 你support 这里只拷贝,确保   ,,,#,that 你indicate  whether 你support  Python  2, Python  3,或两者兼而有之。   ,,,& # 39;Programming  Language ::, Python ::, 2 & # 39;   ,,,& # 39;Programming  Language ::, Python ::, 2.7 & # 39;   null   null   null   null   null   null   null   null   null   null   null   null   null   null

怎么用Python将库打包发布到pypi