
这篇文章主要介绍如何搭建反应+蚂蚁设计开发环境,文中介绍的非常详细,具有一定的参考价值,感兴趣的小伙伴们一定要看完!
基础知识
1。使用脚手架创建项目并启动
1.1安装脚手架:
1.2使用脚手架创建项目:
antd-start-demo为项目名。
1.3启动
2. npm转换为纱
2.1安装纱:
2.2获取纱当前的镜像源:
2.3设置为淘宝镜像:
2.4常用命令:
项目搭建
2.1安装react-router 4.0, axios, less-loader
2.2暴漏webpack配置
提示:如果运行纱逐出报错
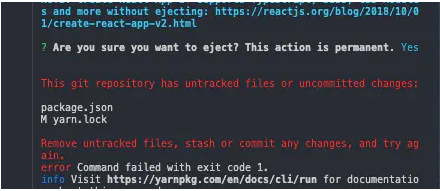 git add 。
git commit -m & # 39; init # 39;
yarn 弹射
git add 。
git commit -m & # 39; init # 39;
yarn 弹射
然后运行纱弹射就可以了
 {
,,,,,测试:,/\ .less/美元,
,,,,,使用:,(
,,,,,,require.resolve (& # 39; style-loader& # 39;),
,,,,,,{
,,,,,,,装载机:,require.resolve (& # 39; css-loader& # 39;),
,,,,,,,选择:,{,importLoaders: 1,},
,,,,,,},
,,,,,,{
,,,,,,,//,Options for PostCSS as 参考文档我方表示歉意these Options 两次
,,,,,,,//,Adds vendor prefixing based 提醒your specified browser support 在
,,,,,,,//package.json
,,,,,,,装载机:,require.resolve (& # 39; postcss-loader& # 39;),
,,,,,,,选择:,{
,,,,,,,,//,Necessary for external CSS imports 用工作
,,,,,,,,//https://github.com/facebook/create-react-app/issues/2677
,,,,,,,,鉴别:,& # 39;postcss& # 39;
,,,,,,,,插件:,(),=祝辞,(
,,,,,,,,,需要(& # 39;postcss-flexbugs-fixes& # 39;),
,,,,,,,,,需要(& # 39;postcss-preset-env& # 39;) ({
,,,,,,,,,,autoprefixer:, {
,,,,,,,,,,,flexbox:, & # 39;没有- 2009 & # 39;
,,,,,,,,,,},
,,,,,,,,,,阶段:,3,
,,,,,,,,,}),
,,,,,,,,,
,,,,,,,},
,,,,,,},
,,,,,,{,装载机:require.resolve (& # 39; less-loader& # 39;),}
,,,,,,
},
{
,,,,,测试:,/\ .less/美元,
,,,,,使用:,(
,,,,,,require.resolve (& # 39; style-loader& # 39;),
,,,,,,{
,,,,,,,装载机:,require.resolve (& # 39; css-loader& # 39;),
,,,,,,,选择:,{,importLoaders: 1,},
,,,,,,},
,,,,,,{
,,,,,,,//,Options for PostCSS as 参考文档我方表示歉意these Options 两次
,,,,,,,//,Adds vendor prefixing based 提醒your specified browser support 在
,,,,,,,//package.json
,,,,,,,装载机:,require.resolve (& # 39; postcss-loader& # 39;),
,,,,,,,选择:,{
,,,,,,,,//,Necessary for external CSS imports 用工作
,,,,,,,,//https://github.com/facebook/create-react-app/issues/2677
,,,,,,,,鉴别:,& # 39;postcss& # 39;
,,,,,,,,插件:,(),=祝辞,(
,,,,,,,,,需要(& # 39;postcss-flexbugs-fixes& # 39;),
,,,,,,,,,需要(& # 39;postcss-preset-env& # 39;) ({
,,,,,,,,,,autoprefixer:, {
,,,,,,,,,,,flexbox:, & # 39;没有- 2009 & # 39;
,,,,,,,,,,},
,,,,,,,,,,阶段:,3,
,,,,,,,,,}),
,,,,,,,,,
,,,,,,,},
,,,,,,},
,,,,,,{,装载机:require.resolve (& # 39; less-loader& # 39;),}
,,,,,,
},
到配置cssload同级如图所示
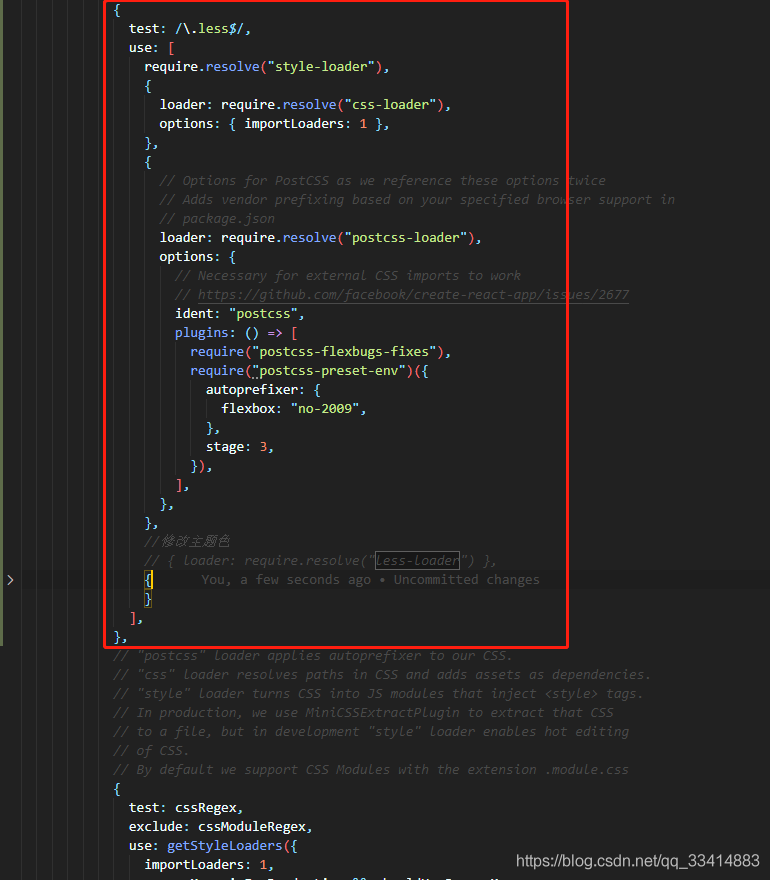
图片示例
注意:在webpack.config.dev.js添加的配置部分,也需要在webpack.config.prod.js中做相同的配置。否则可能导致项目发布上线后,报错无法执行。
2.4安装antd
2.5测试使用


